How to Repair Water Damaged Laminate Flooring
If you have laminate flooring, or are considering installing laminate for durability and versatility, read on for some tips and tricks to repairing more extensive issues yourself… or knowing when to hire professional help.
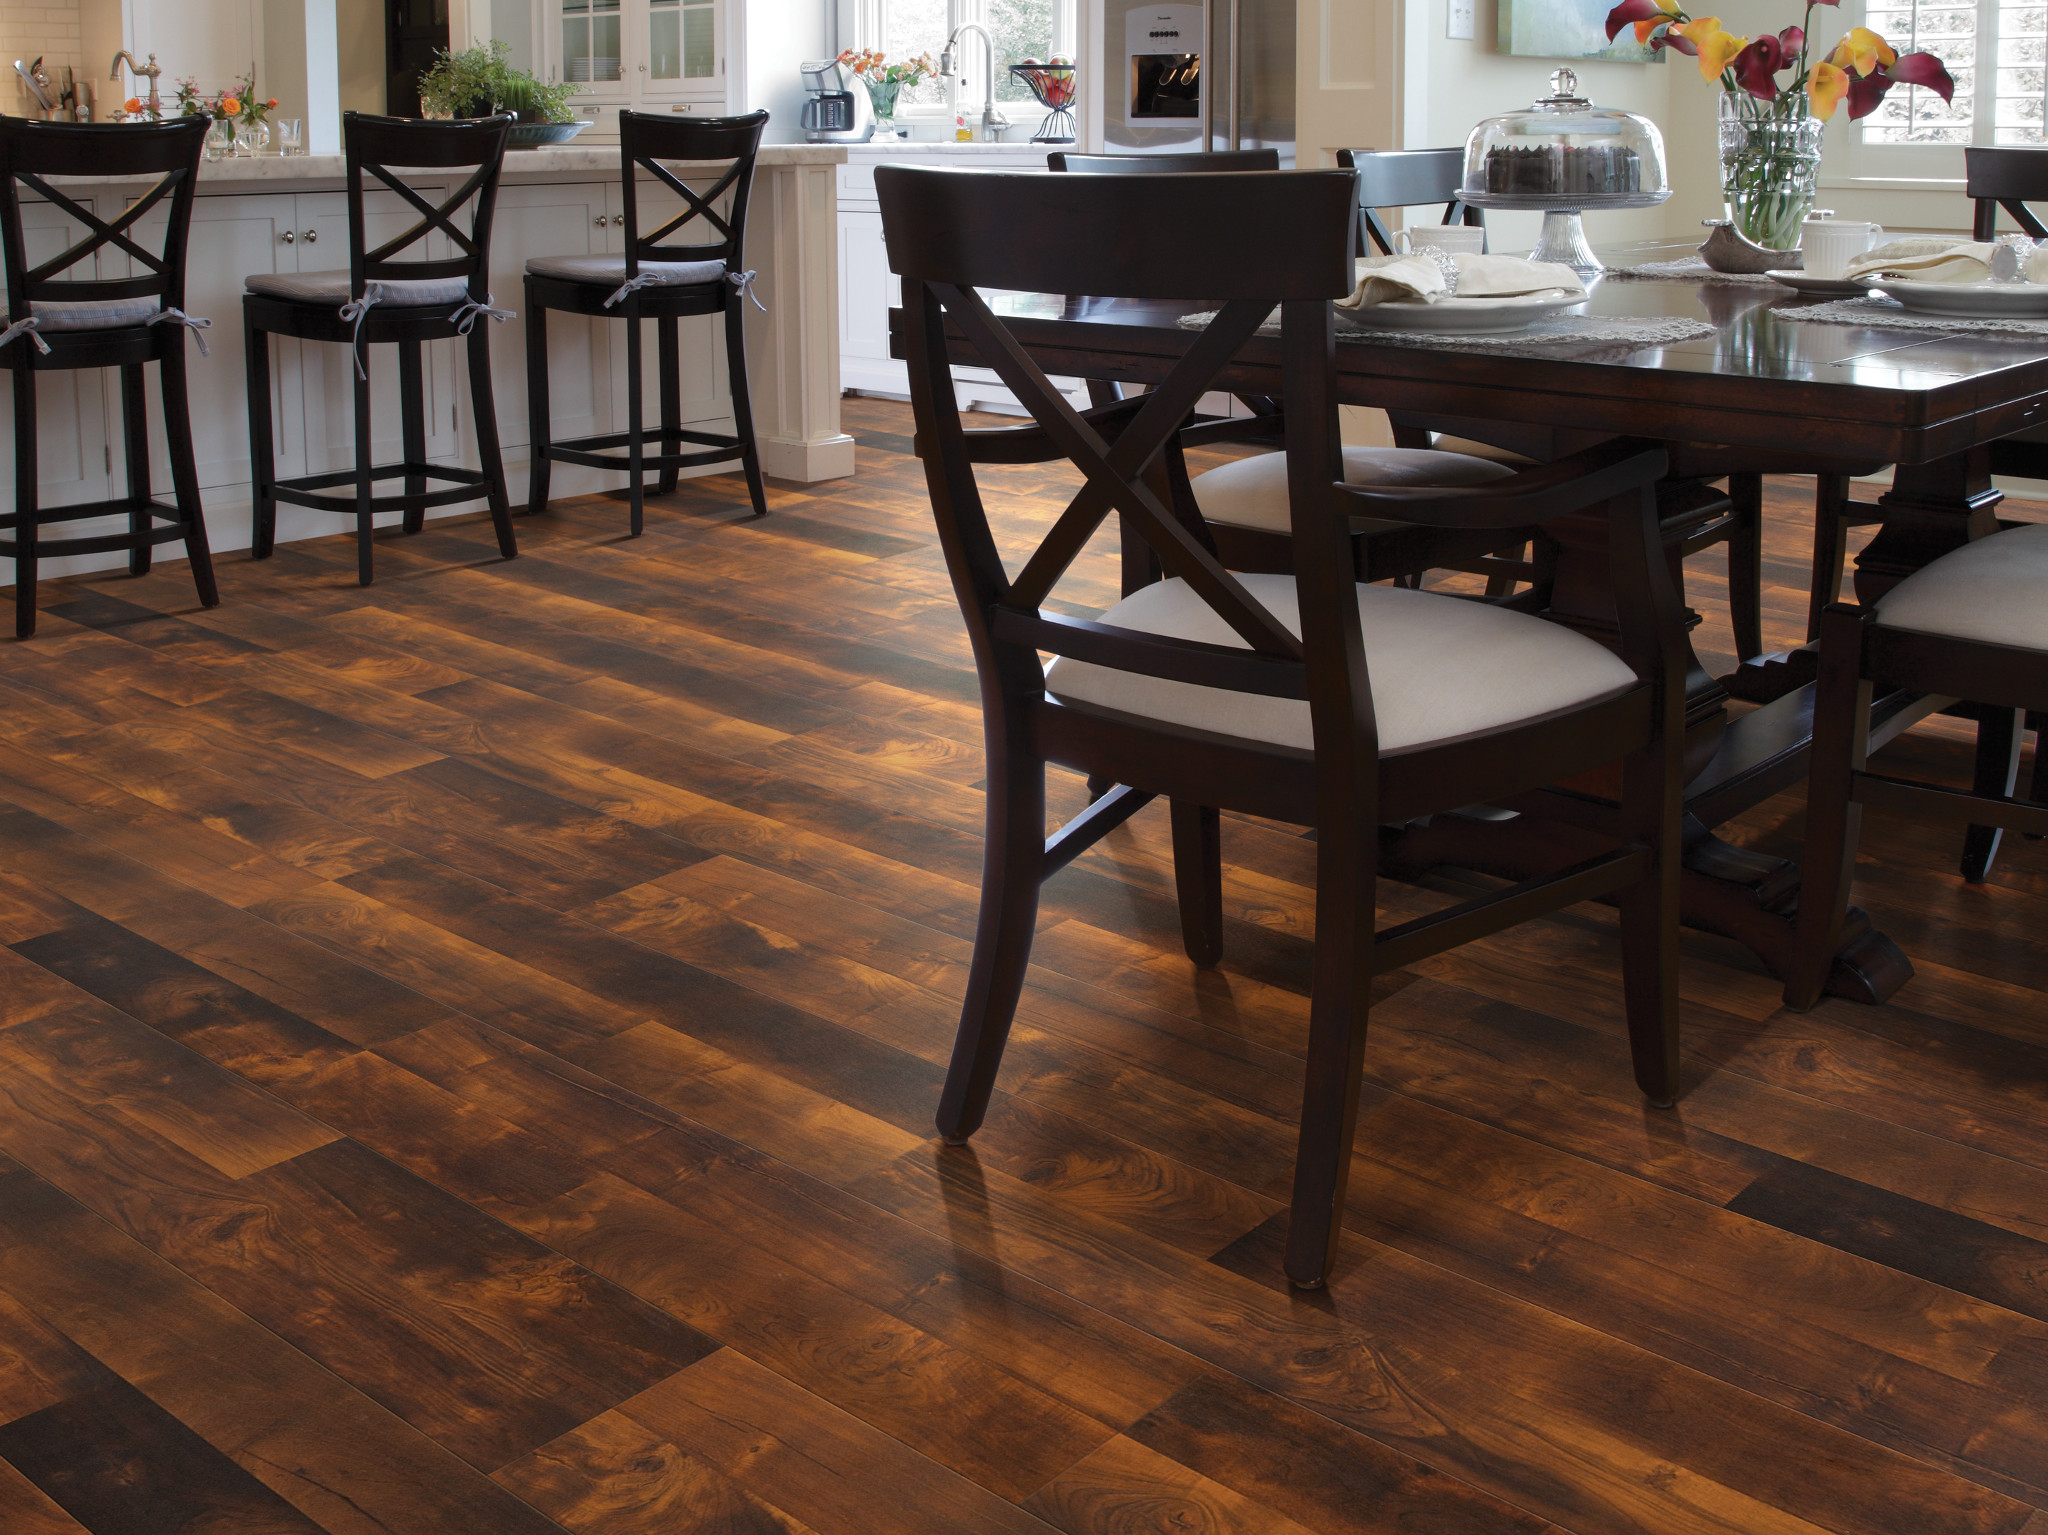
Repairing Water Damage
Although manufacturers are consistently improving the waterproof or water resistant qualities of laminate, there are still some varieties on the market that do not hold up well to long term exposure to liquids. If floors were underwater, or in contact with consistent wetness, you may need to replace the entire thing. You can certainly tackle this fix if only some planks have swelled and need to be replaced. If you did not save extra pieces of your flooring, you will need to get some that matches before you can begin repairing water damaged floors. The first step is to remove the base molding from the perimeter of the space. Since laminate “floats” you may need the wiggle room to perform the next step: remove some planks. Most laminate floors click together with a tongue and groove technology, and are installed from left to right. Gently take up the floor from right to left, using a pry bar and being sure to protect your eyes, and label pieces with painters tape so they will be easy to reinstall. This is especially important if there are cuts that need to be made; you can use the old flooring to plan cuts for new pieces without having to measure again. As you go, swap out damaged flooring for new, making cuts as necessary. Reinstall the undamaged flooring that you have removed and labeled, then reinstall the base molding.
Cutting Damaged Flooring with a Saw
If your flooring is damaged in the middle of a large area, and pulling it up to replace a small section would be a huge hassle, it is possible to cut, remove and replace the flooring using a circular saw. This is a bit more involved, so if you are not handy, consider contacting a professional for this repair. The first step, after setting the depth of the saw blade to the thickness of the flooring, is to measure the damaged board and mark 1” from each end. This is to ensure that you will not accidentally cut the adjacent boards. Use the saw to make a “plunge”cut across one end, which is a maneuver that cuts through a small area from the surface, rather than across from the side. Repeat on the other end. Next, cut along the center of the damaged piece, between the two end cuts. This will allow you to “bend” and remove the flooring by loosening the tongue and groove. If it will not loosen, you can use a utility knife to cut the flooring out.
Once you have removed the damaged flooring, prepare a new piece by cutting to length (if necessary) then using the utility knife to cut away the tongue and groove, making sure the new piece fits properly the space. You will not be snapping this new piece into place; instead, apply wood glue to the edges of the flooring and put it in place, wiping any excess. If necessary, you can use a hammer to gently tap the flooring into place, using scrap as a buffer. Finally, use another board and heavy items to weigh down the new flooring and adjacent boards, until glue has cured.
Since these repairs are more involved, you may be feeling unsure about repairing your own flooring. Rest easy and contact the professionals at Rockwall Floor and Paint. They are ready to help you decide if you can tackle the job yourself or should work with a flooring contractor who can take care of your flooring problems. Soon your floors will be looking good as new!